IV. 产品导入手册
---# IV. 产品导入手册
* * *
> **本文档为 SafeMesh 系统的产品导入手册**
> **适配系统版本**:V1.0.0
> **文档版本**:V1.0
> **发布日期**:2026 年 1 月 1 日
> **发布方**:EFFORT
---* * *
# 文档修订记录
| | 版本号 | | 修订日期 | | 修订内容摘要 | | 修订人 | | 审核人 |
|---|
v1.0 | 2026-1-1 | 初始发布 | 姓名 | 姓名 |
|
| ---
| --- | --- | --- | --- |
| v1.0 | 2026-1-1 | 初始发布 | 姓名 | 姓名 |
* * *
#
1.1\. 前言
## 1.1 文档目标
-* 向用户介绍产品安装完成后,导入系统的步骤。
## 1.2 目标读者
-* 项目经理
-* 现场工程师
## 1.3 文档范围
-* 产品导入步骤
## 1.4 相关文档
-* 前提文档 :《系统概览与安装入门指南》
-* 关联文档 :《软件用户操作与系统管理手册》
# 2. 具体步骤
## 2.1
System login系统登录
1.
Click "System Entry" to enter the system page.点击“系统输入”以进入系统页面。
 
2.
Password login密码登录
```html
account:admin
password:123456
```
3.
Login successful登录成功
[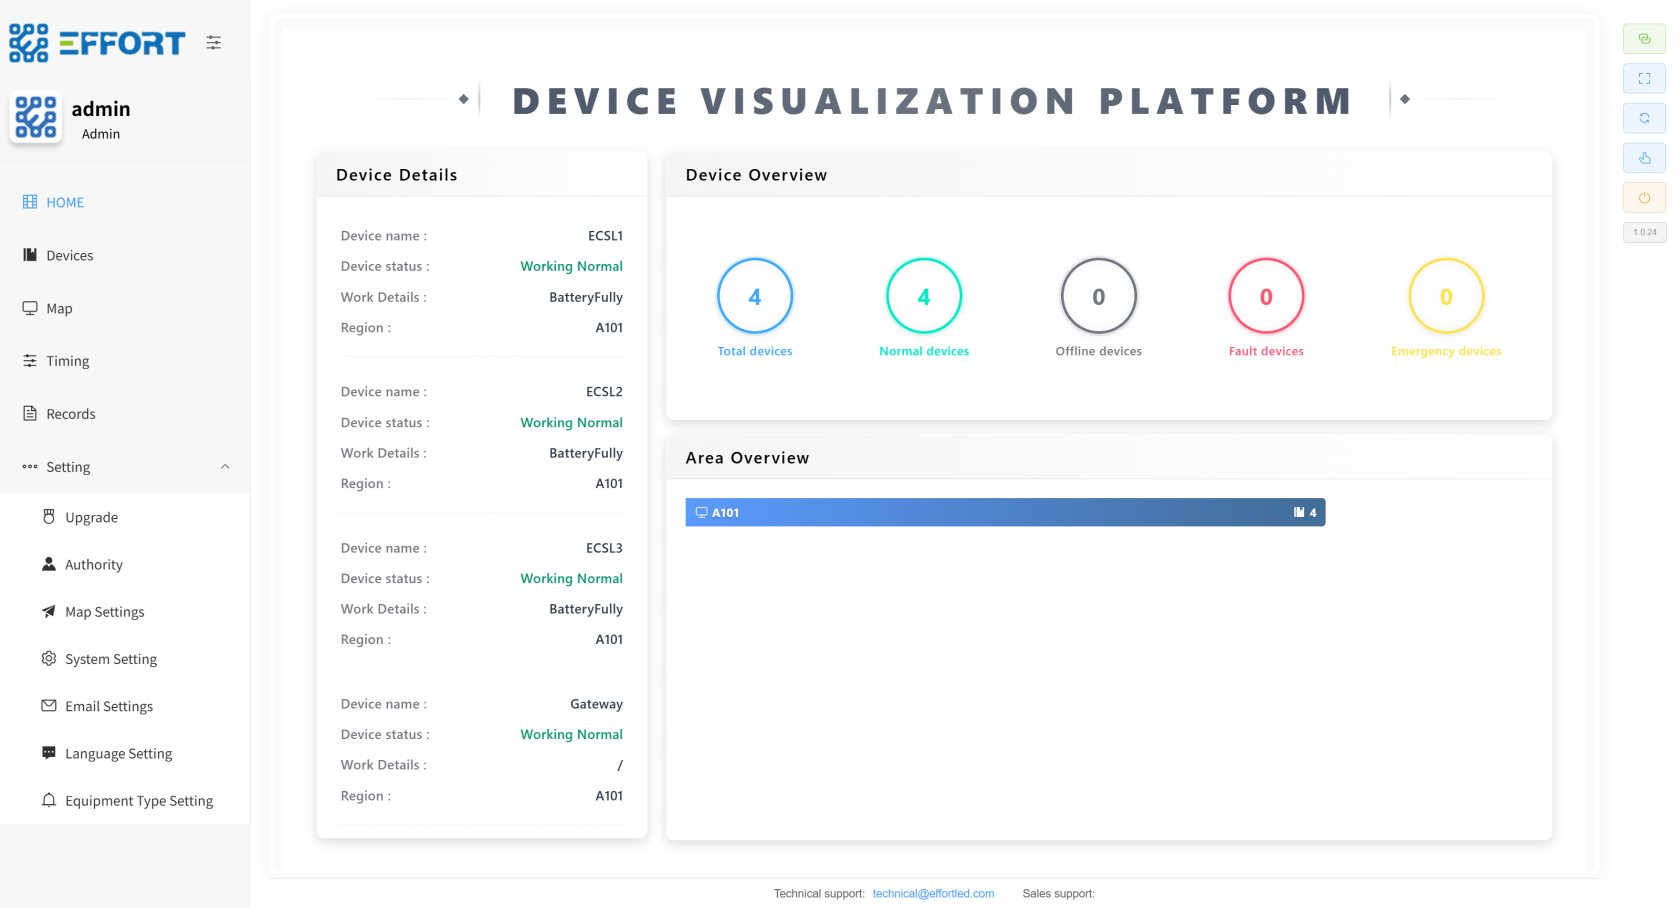](http://13.222.61.26:6875/uploads/images/gallery/2026-01/AIyimage.png)
##
Enter2.2 the installation guide进入安装引导
1.
Click the Install Boot button点击安装启动按钮
[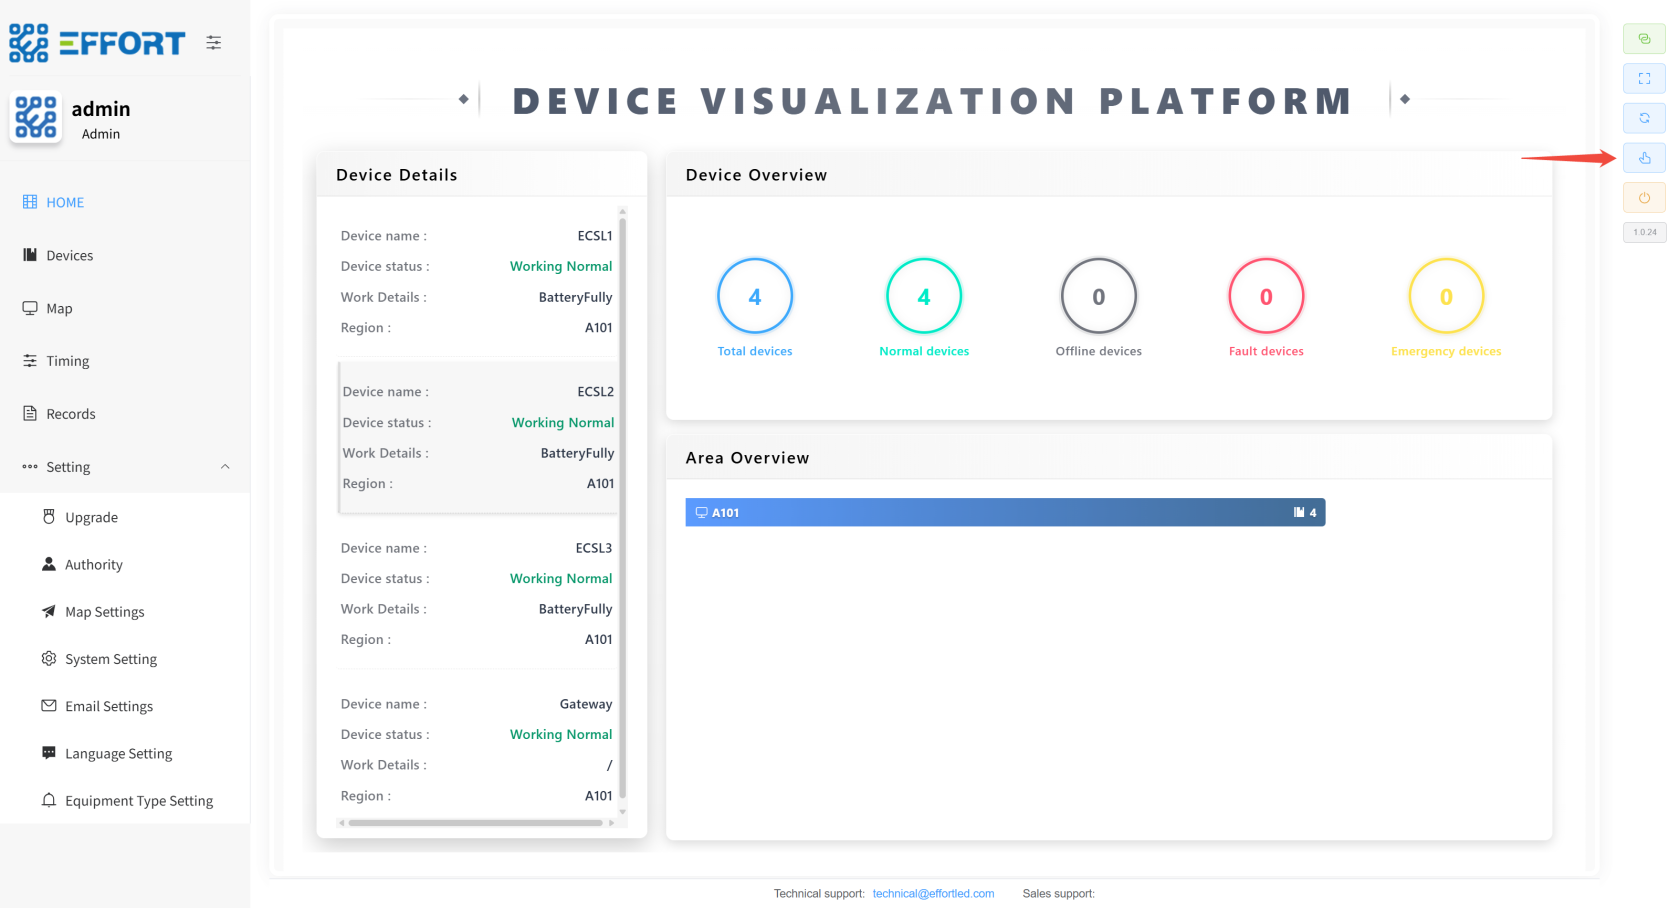](http://13.222.61.26:6875/uploads/images/gallery/2026-01/8oQimage.png)
##
Map2.3 import地图导入
1.
Do you need to import maps? If you need to, click need. If not, click unwanted.你需要导入地图吗?如果需要,点击需要。如果不需要,点击不想要。
[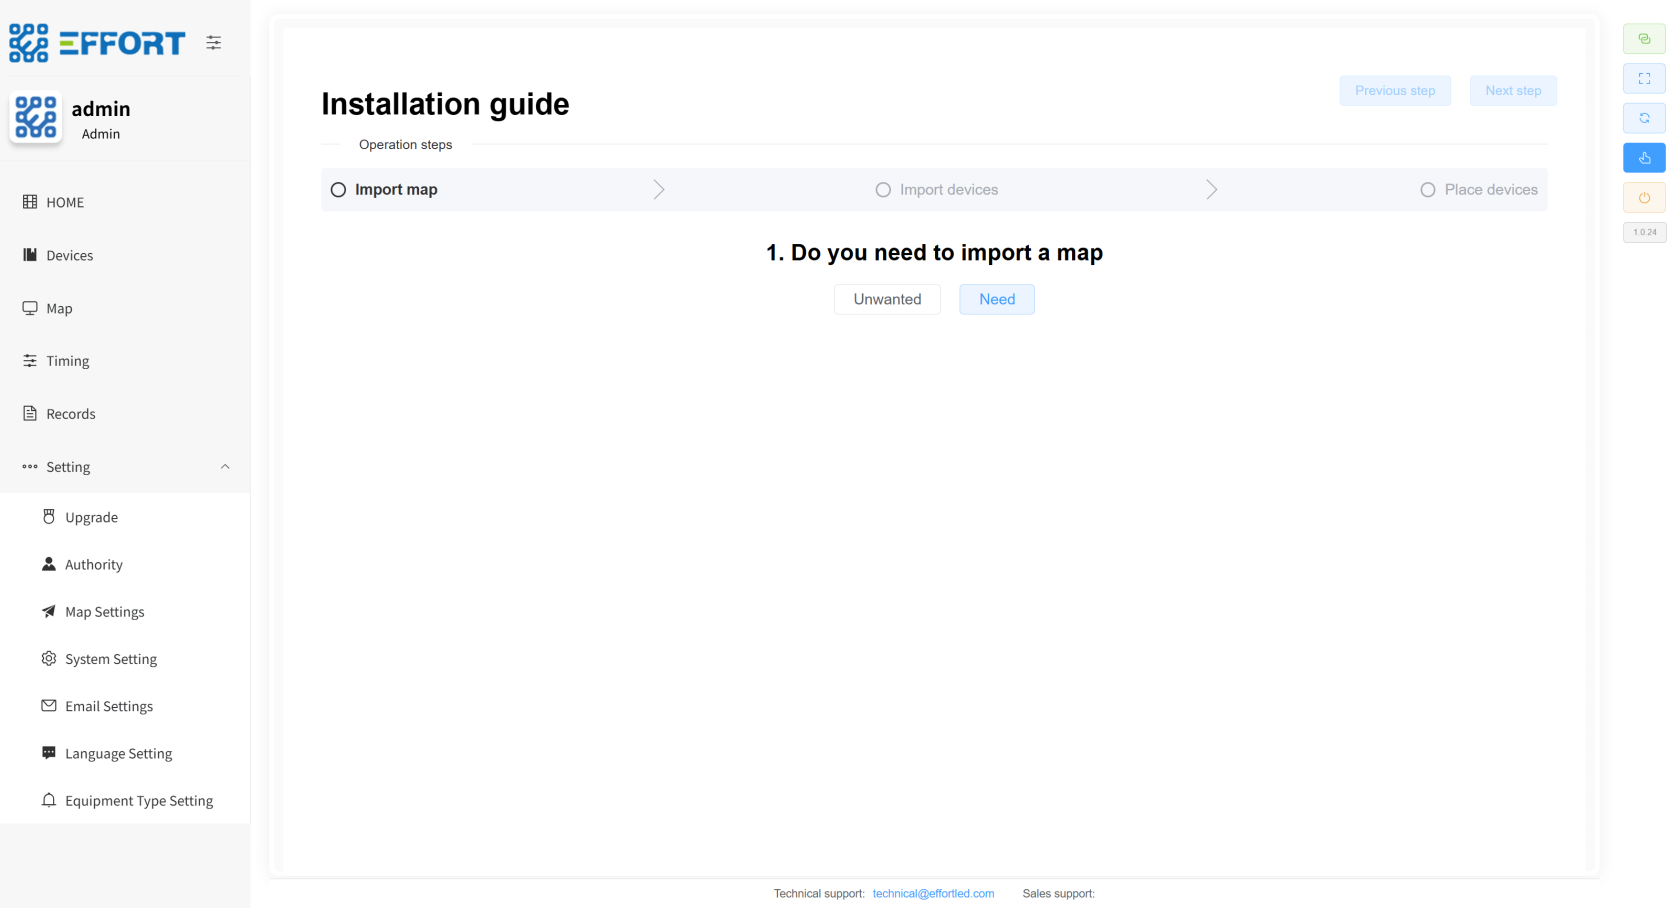](http://13.222.61.26:6875/uploads/images/gallery/2026-01/u4Limage.png)
2.
Map import steps地图导入步骤
1.
click Add Mainsapce to add the first-level area.点击添加机关以添加第一层区域。
2.
Click the icon, add, secondary area, you can continue to add down.点击图标,添加,次要区域,你可以继续添加......
3.
Click the icon to modify the area name.点击图标可修改区域名称。
4.
In the last level area, upload the area map.在最后一关区域上传区域地图。
5.
Configuration is complete, jump to the next step.配置完成,跳转到下一步。
[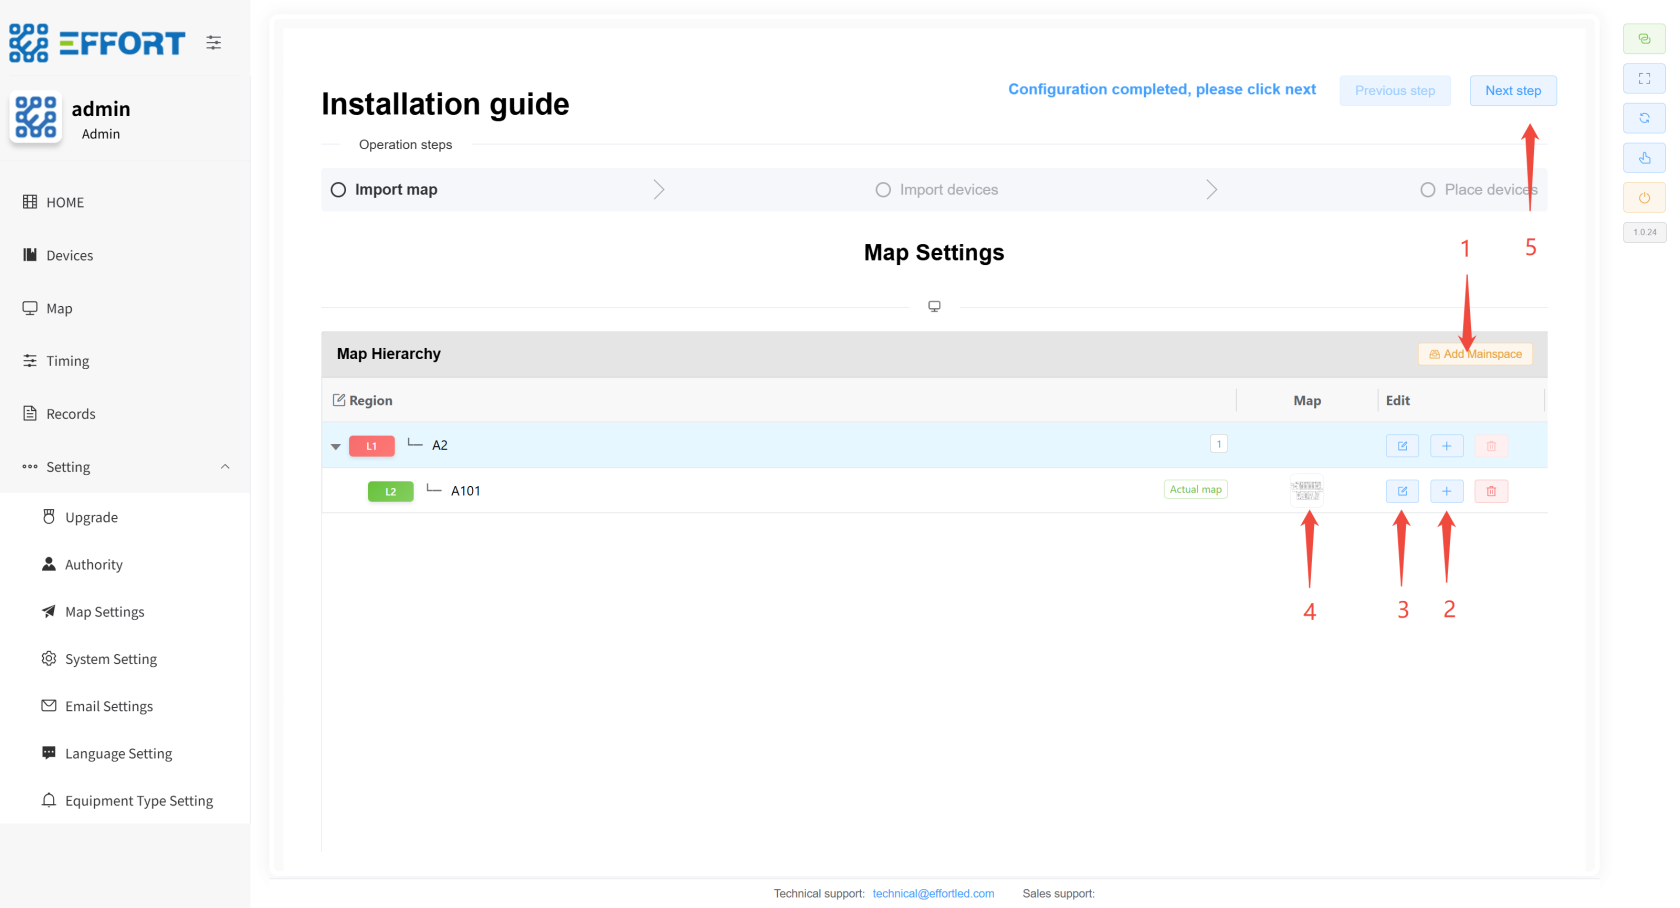](http://13.222.61.26:6875/uploads/images/gallery/2026-01/OREimage.png)
##
Gateway2.4 and device import网关和设备导入
1.
Do you need to import the gateway? If you need to, click need. If not, click unwanted.你需要导入网关吗?如果需要,点击需要。如果不需要,点击不想要。
[](http://13.222.61.26:6875/uploads/images/gallery/2026-01/MwVimage.png)
2.
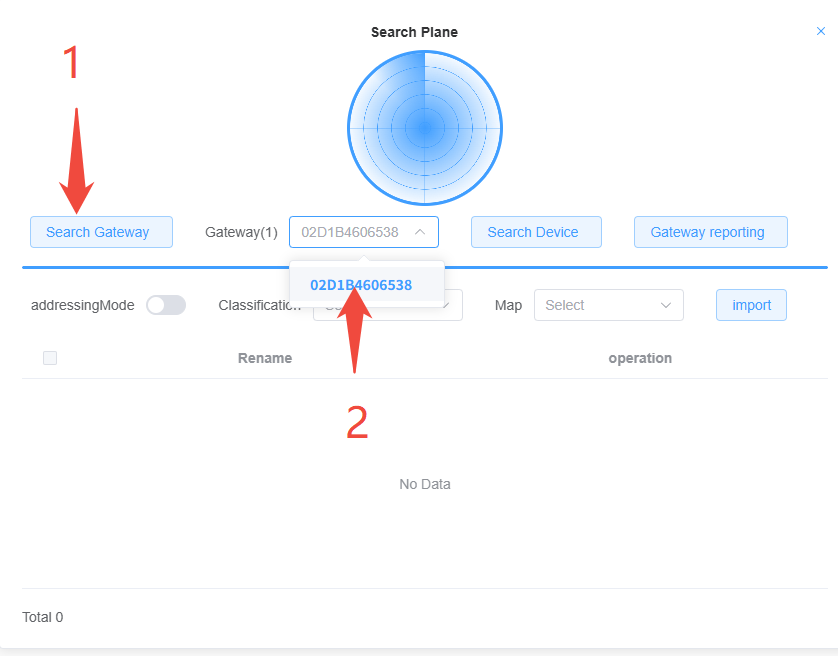
Gateway import steps网关导入步骤
1.
Click Search Gateway and wait for about 30 seconds.点击搜索网关,等待大约30秒。
2.
Click to select the searched gateway.点击选择搜索的网关。
3.
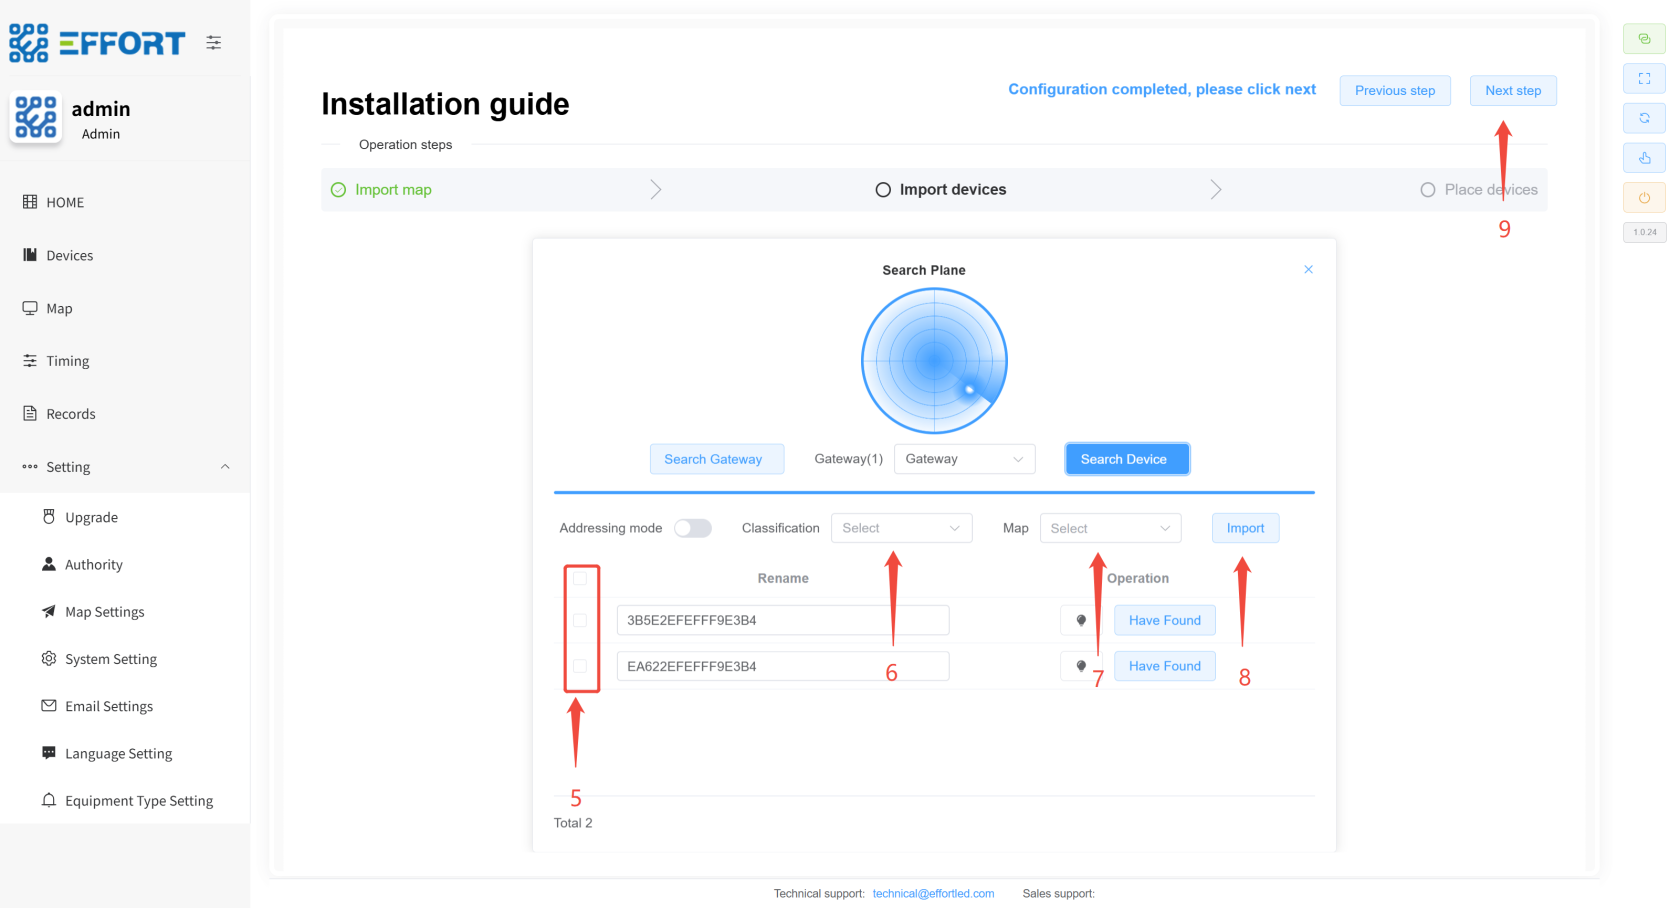
Device import steps设备导入步骤
1.
Select Gateway first先选择网关
2.
Click Search Device点击搜索设备
3.
If new devices need to be added after the installation phase, select "如果安装阶段后需要添加新设备,选择“Gateway
opens network and searches for new devices." If no new devices need to be added, select "打开网络并搜索新设备”。如果不需要添加新设备,选择“Gateway
reports the current existing devices."报告当前现有设备”。
4.
Click Search Device点击搜索设备
5.
Select device选择设备
6.
Select device category选择设备类别
7.
Select region选定地区
8.
Click Import点击导入
9.
Configuration is complete, jump to the next step配置完成,跳转到下一步

[](http://13.222.61.26:6875/uploads/images/gallery/2026-01/HH7image.png)
##
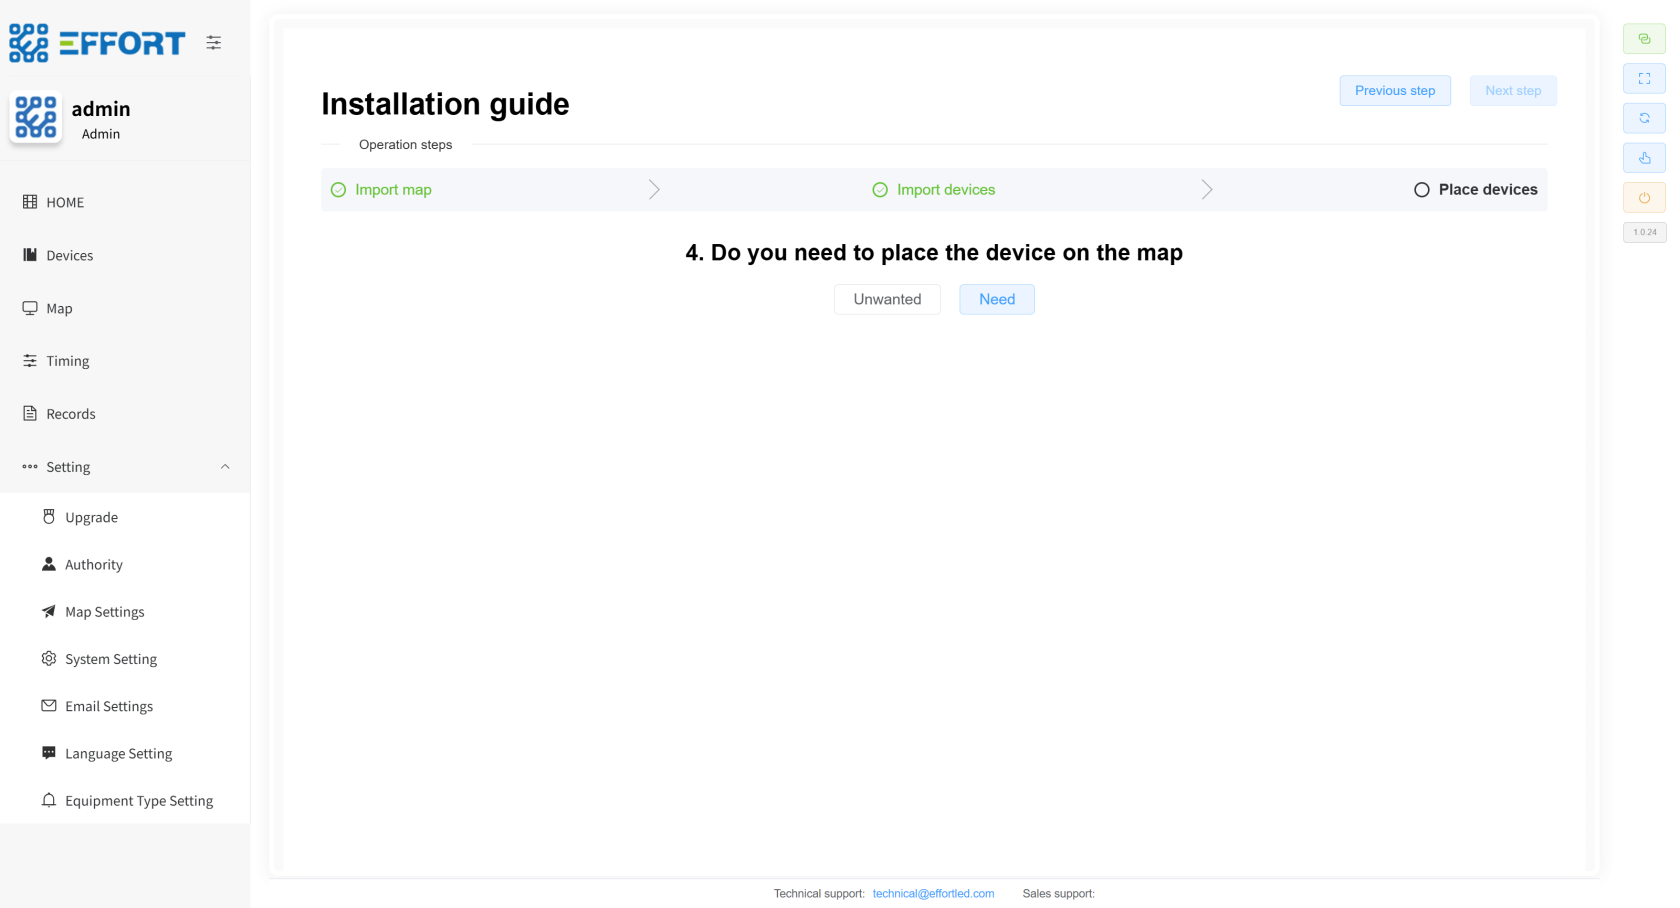
Equipment2.5 placement设备放置
1.
Do you need to place the device in a specific area? Click need if you need it, and click unwanted if you don't need it.你需要把设备放在特定区域吗?需要就点击需要,不需要就选择不需要。
[](http://13.222.61.26:6875/uploads/images/gallery/2026-01/nzGimage.png)
2.
Device import steps设备导入步骤
1.
Left-click and hold the device to drag it into the map.左键点击并长按设备,将它拖入地图。
2.
Configuration is complete, jump to the next step.配置完成,跳转到下一步。

##
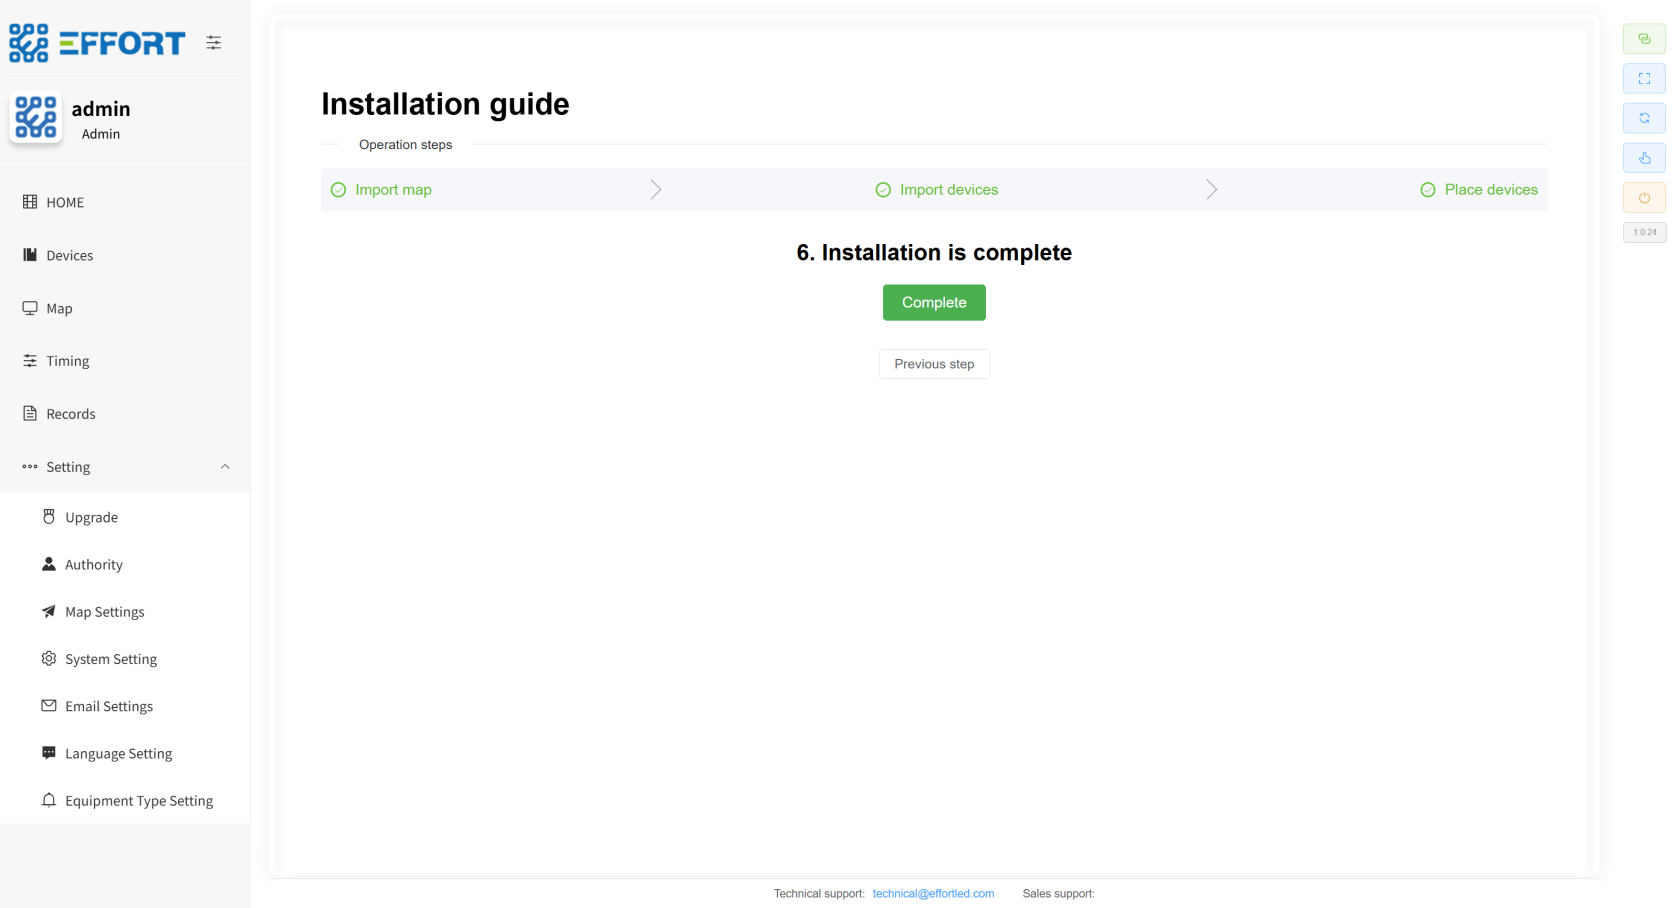
Import2.6 complete导入完成
1. This step represents that the product has been imported into the system这一步表示产品已被导入系统
[](http://13.222.61.26:6875/uploads/images/gallery/2026-01/Dtbimage.png)
