III. Software installation and configuration manual
###### **I.III. Cover*Software Installation and Configuration Manual
* *
Product/System*
Name> Logo**This document is a software installation and configuration manual for the SafeMesh system**
> **Adaptation system version**: V1.0.0
> **Document version**: V1.0
> **Release date**: January 1, 2026
> **Published by**: EFFORT
*
Document Title: << Software Installation and Configuration Manual >
>* *
Applicable product/system version
*# Document
versionrevision records
| Version number
(e.g.,| v1.0)
* ReleaseRevision date
* Company Name & Logo
##### **II. Documentation Revision Record**
|
versionSummary |of Date | Revised content | Role taggingrevisions | Reviser
| Reviewer |
| --- | --- | --- | --- | --- |
|
v2.V1.0 |
2023/10/202026-1-1 |
OperationsInitial and management functions are combinedrelease |
👤⚙️JLJ |
Zhang GongShyne |
###### **III.1\. TablePreamble
of## Contents**
##### **IV. Preamble**
###### **4.1.1 Document
Objectives**Objectives
Provide users with step-by-step software installation, initialization configuration, and basic validation
* Guide the completion of software installation, initialization configuration, and basic verification
######## **4.1.2 Target
audience**audience
System Administrator/IT Engineer
######## **4.1.3 Document
Scope**Scope
* Software installation steps
######## **4.1.4 Related
Documentation**Documentation
* Prerequisite Documentation: System Overview and Installation Guide (Must-Read)
* Parallel Documentation: Hardware Connection and Deployment Guide
######## **4.1.5 Symbolic
conventions**conventions
* ⚠️ Indicates key considerations
*
i️ℹ️ Tip information
* ▶️ Indicates the start of the operation step
####### **V.2\. Pre-InstallationPreparation Preparation**before *(echoesinstallation
Chapter## V of the Overview Guide).*
###### **5.2.1 System Recommended
Configuration**Configuration
* **服务器 CPU**:intel® Core™ i5-6400
* **Server RAM:** 8G
* **Server storage**: 128G
* **Server OS**: Windows 11 - 64bit
######## **5.2.2 Obtain installation
resources**resources
* Get the installation package from your account manager
######## **5.2.3 Network and Security
Configuration**Configuration
| ports | agreement | Uses: | Firewall requirements |
| --- | --- | --- | --- |
| 3000 | TCP | server | Inbound/outbound is allowed |
| 3547 | UDP | MQTT communication | Inbound/outbound is allowed |
| 3548 | UDP | OTA upgrades | Inbound/outbound is allowed |
| 8012 | TCP | client | Inbound/outbound is allowed |
| 8189 | TCP | Dongle driven | Inbound/outbound is allowed |
| 13306 | TCP | database | / |
⚠️ The above ports are required for the system, please note port conflicts
⚠️ Firewall requirements need to be manually configured by the user
⚠️ When installing the system, please turn off the antivirus software or add the software to the trust zone: you need to create a directory first, put it in the trust zone, and then install the software into this directory.
* **Network stability requirements**: It is recommended to have a delay of <30ms and a packet loss rate of 0%, and the system is running in a network with a high packet loss rate, and the user operation command cannot be issued to the device.
# 3\. Software installation process
## 3.1 Installation process diagram

## 3.2 Permissions and Dependencies Check
* Admin privilege verification
Windows: On the cmd command line, type:
```html
whoami /groups | findstr "Administrators"
```
If the output includes `Administrators`, the user has administrator privileges.
Linux: Enter on the command line
```bash
whoami
```
If the output is root, it means that you have administrator privileges.
* Dependency library installation checklist
1. Nodejs
2. Mysql
3. Vikey
4. Microsoft Visual C++ Redistributable
i️ The above environment will be installed automatically when the system is installed, and users do not need to install it themselves.
## 3.3 Environmental installation
▶️ **Step 1**: **Launch the installation wizard** by double-clicking on the infinite-win-1.0.19-x64.exe

▶️ **Step 2**: Click Next
[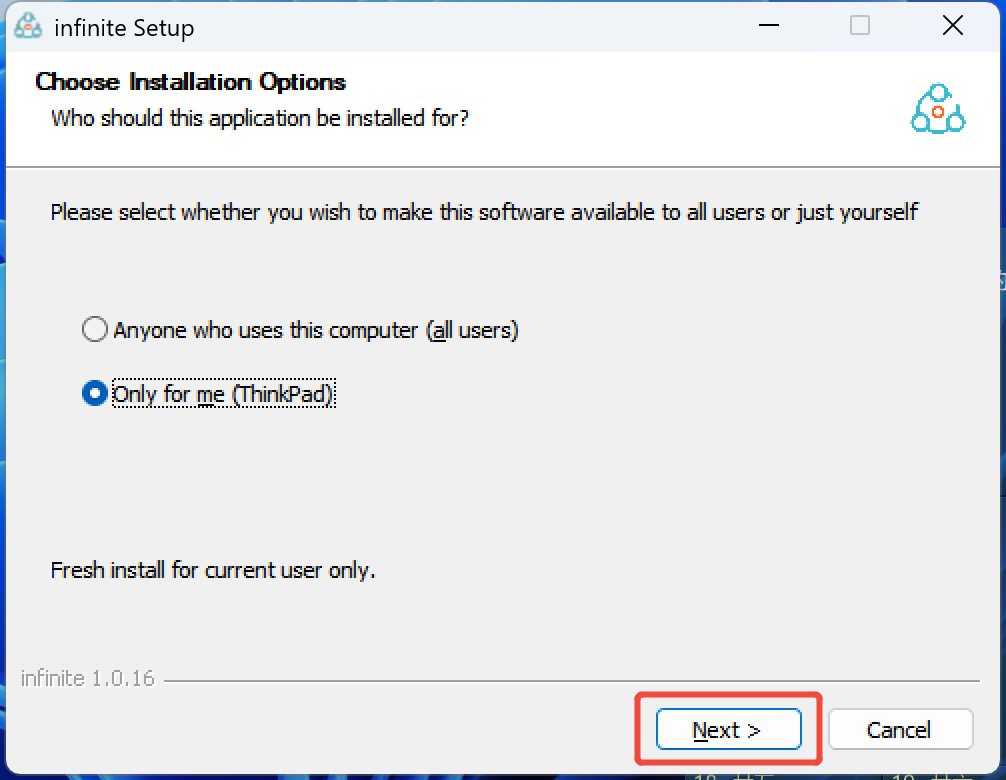](http://13.222.61.26:6875/uploads/images/gallery/2026-03/bvajtpgbux80ovzq8xveemcno5nntg.png)
▶️ **Step 3**: Configure the **installation path and click Install**
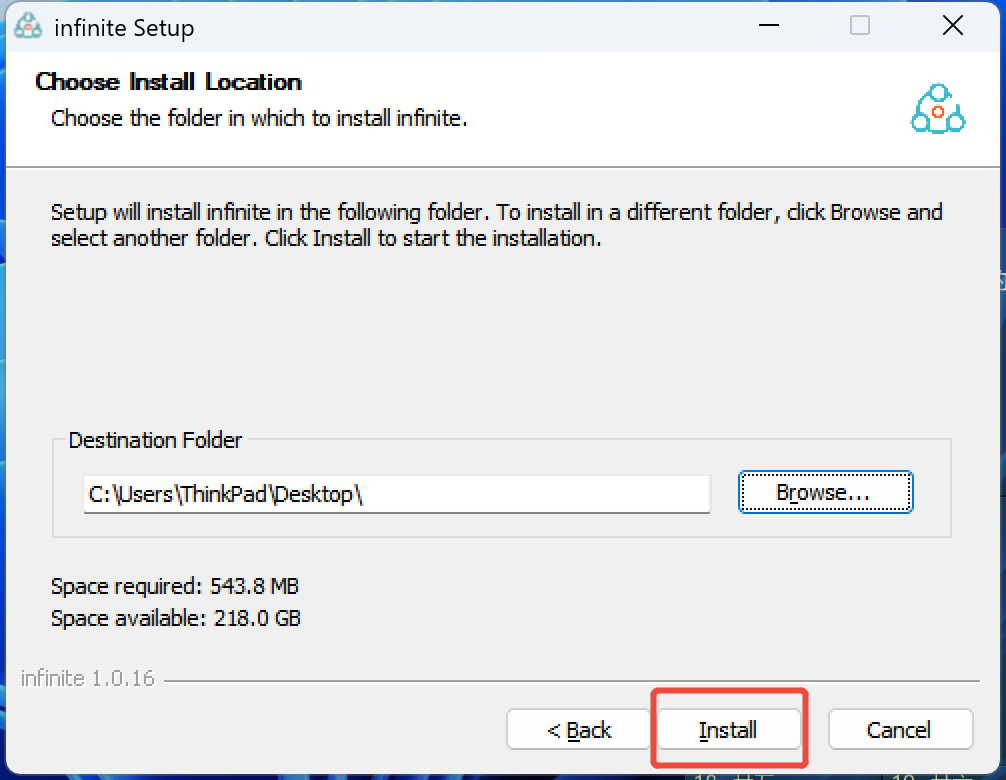
▶️ **Step 4**: To complete the installation, click Finish
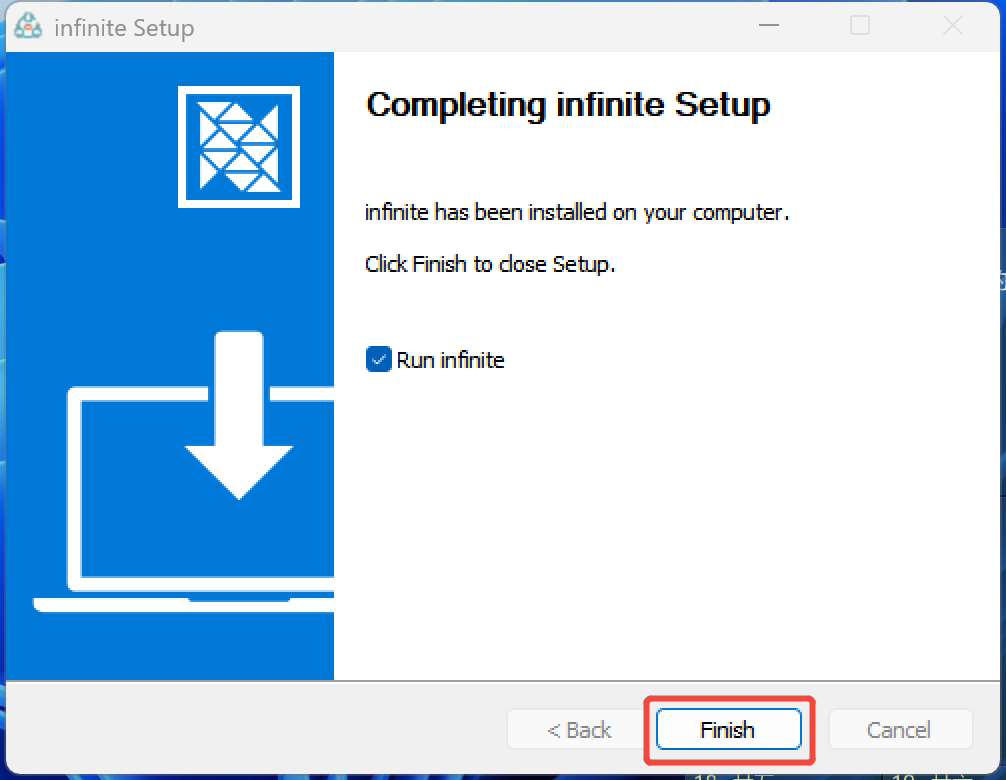
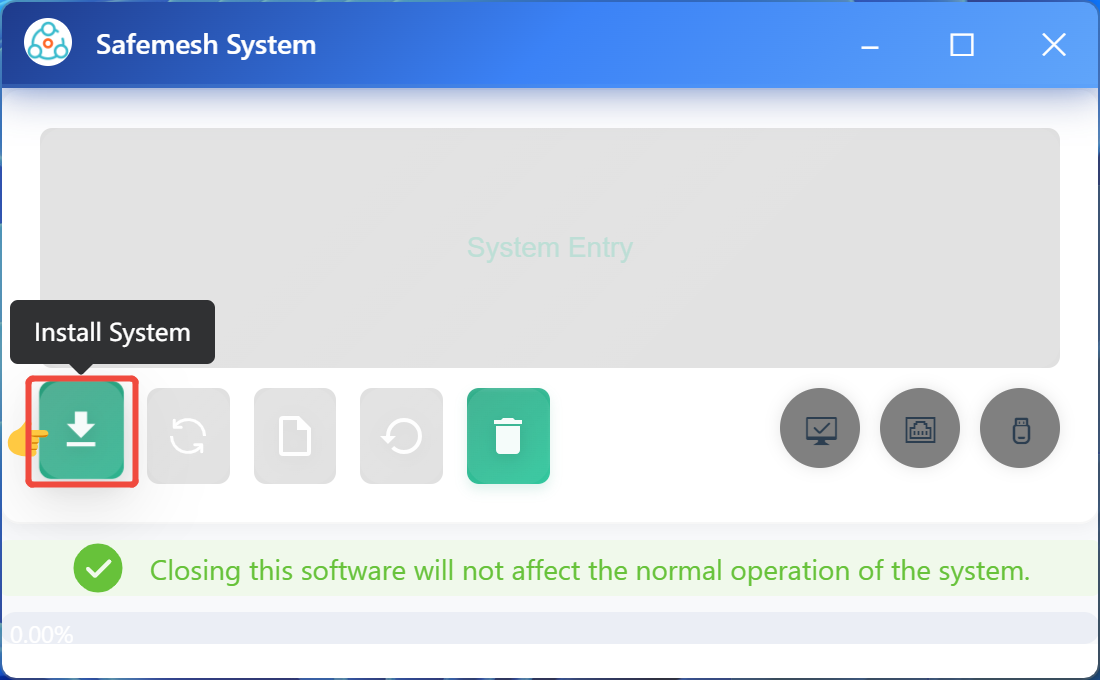
## 3.4 Service Installation
▶️ **Step 1**: Click Install System and wait for the installation to complete. ⚠️ Note: If there is no pop-up error prompt, it means that the installation is in progress, please be patient.
[](http://13.222.61.26:6875/uploads/images/gallery/2026-01/g05image.png)
[](http://13.222.61.26:6875/images/gallery/2026-01/mU5image.png)
# 4\. Initial configuration wizard
▶️ **Step 1**: Click on System Entry to **enter the system page**.
[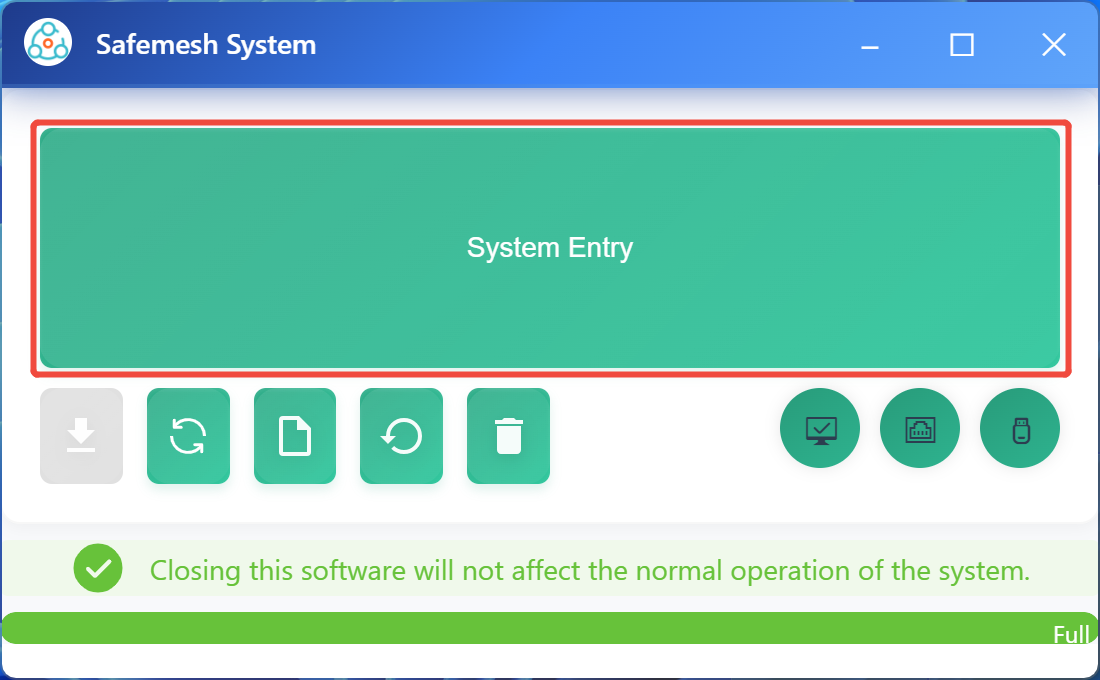](http://13.222.61.26:6875/uploads/images/gallery/2026-01/UoZimage.png)
[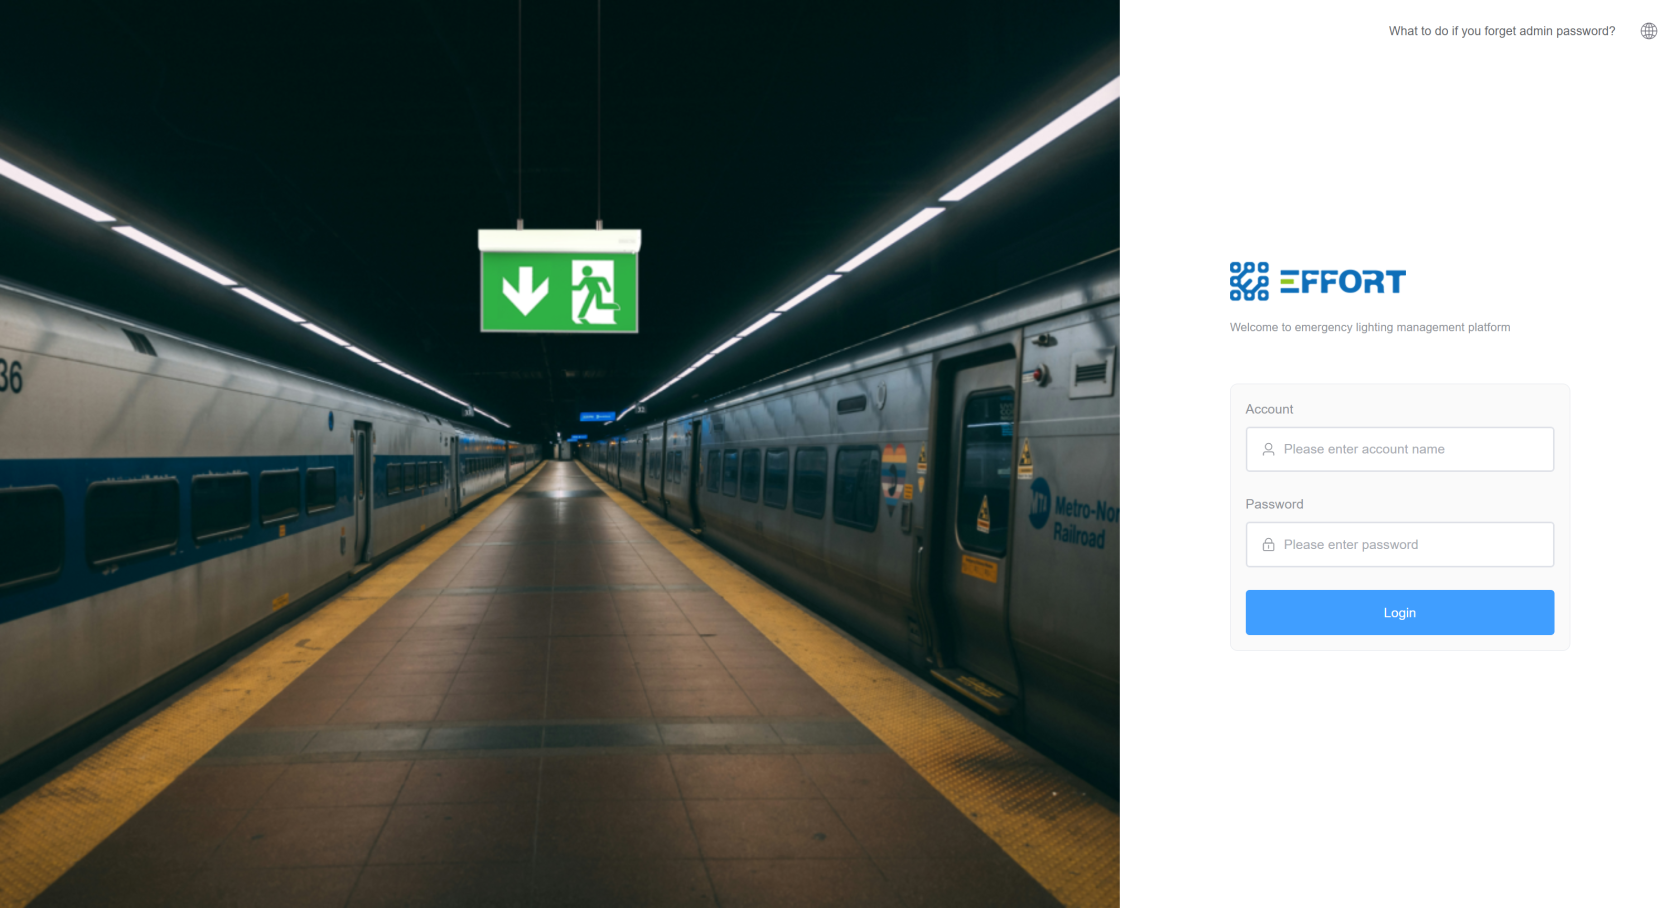](http://13.222.61.26:6875/uploads/images/gallery/2026-01/rvPimage.png)
# 5\. Service management and verification
## 5.1 Service Management Commands
[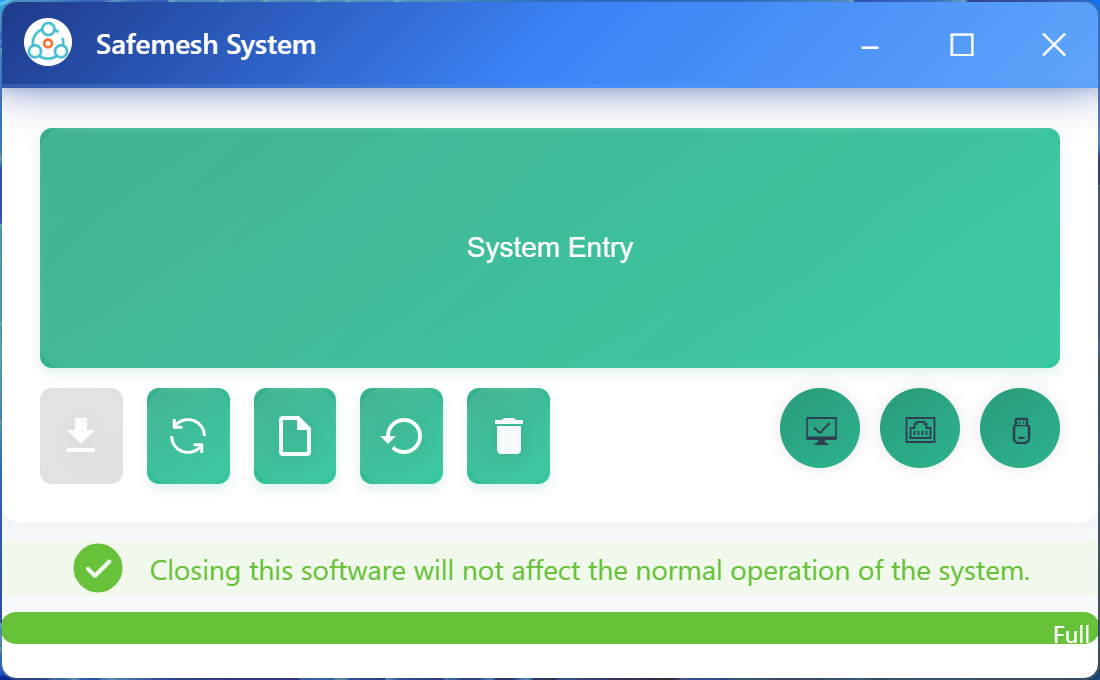](http://13.222.61.26:6875/uploads/images/gallery/2026-01/VIIimage.png)
| button | Meaning |
|  | Installation services |
|  | Restart the system |
|  | Back up your data |
|  | Import the backed up data file and reset the version |
|  | Uninstall the system |
|  | Service status: Green: Normal operation; Yellow: Service abnormalabnormality |
|  | Port status: Green: Normal operation; Red: Abnormal port |
|  | Dongle drive status: Green: Normal operation; Red: AbnormalThe dongle drive is abnormal |
|  | Click to open the system page |
######## **8.5.2 Health
Statestatus Verification** (Method for Determining the State of the Main Interface of the Installation Boot Software and Method for Determining Related Faults)verification
* The port is wrong, click to see the solution
[](http://13.222.61.26:6875/uploads/images/gallery/2026-01/D1timage.png)
[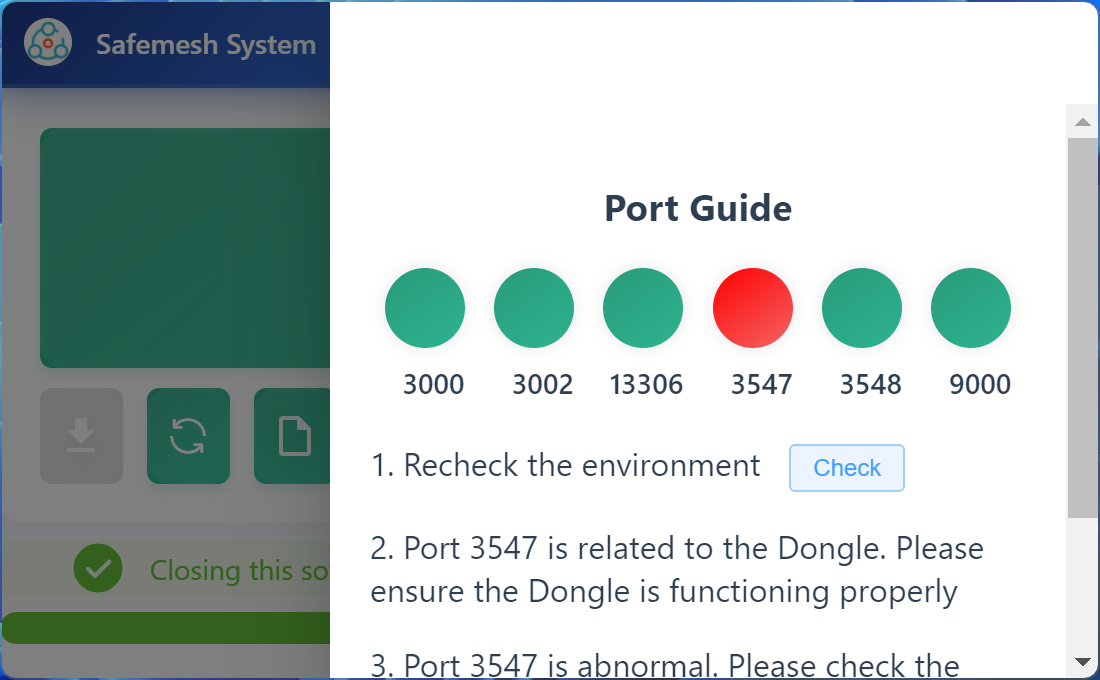](http://13.222.61.26:6875/uploads/images/gallery/2026-01/7R2image.png)
* Dongle error, click to see the solution
[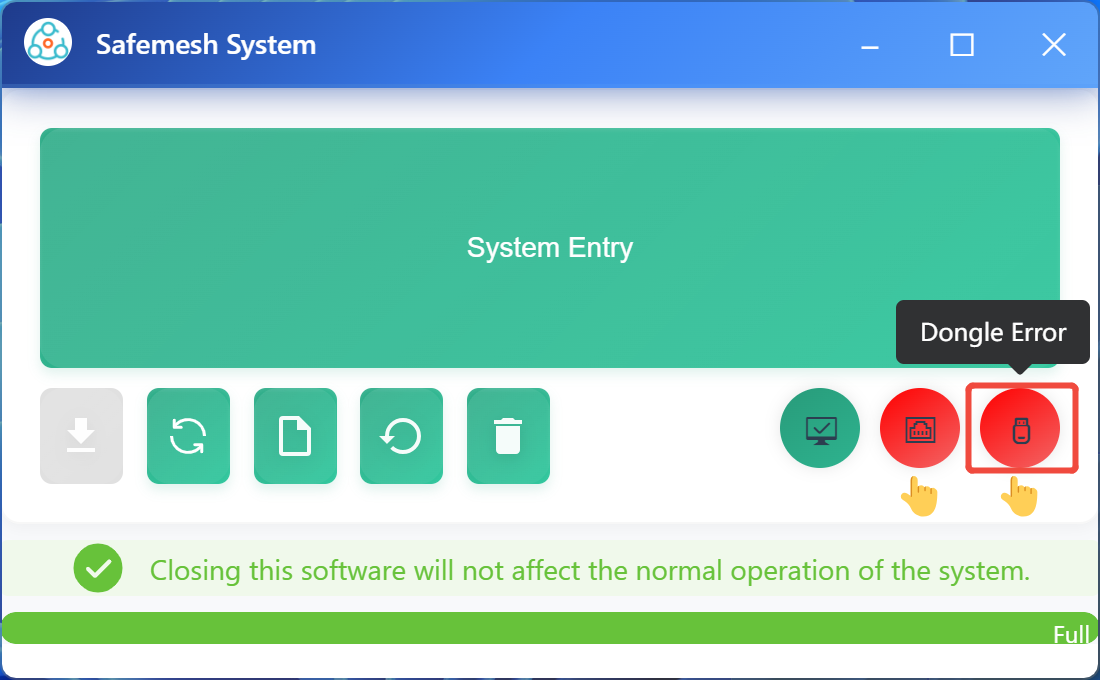
](http://13.222.61.26:6875/uploads/images/gallery/2026-01/1Uaimage.png)
[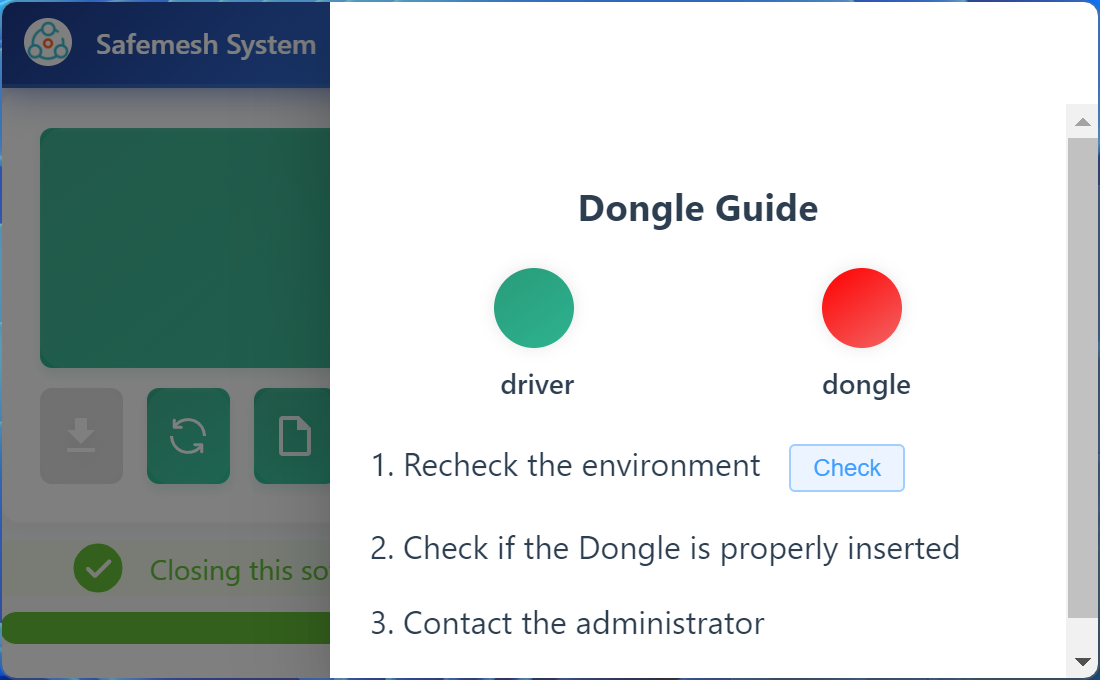](http://13.222.61.26:6875/uploads/images/gallery/2026-01/babimage.png)
* Service error, click to view the solution
[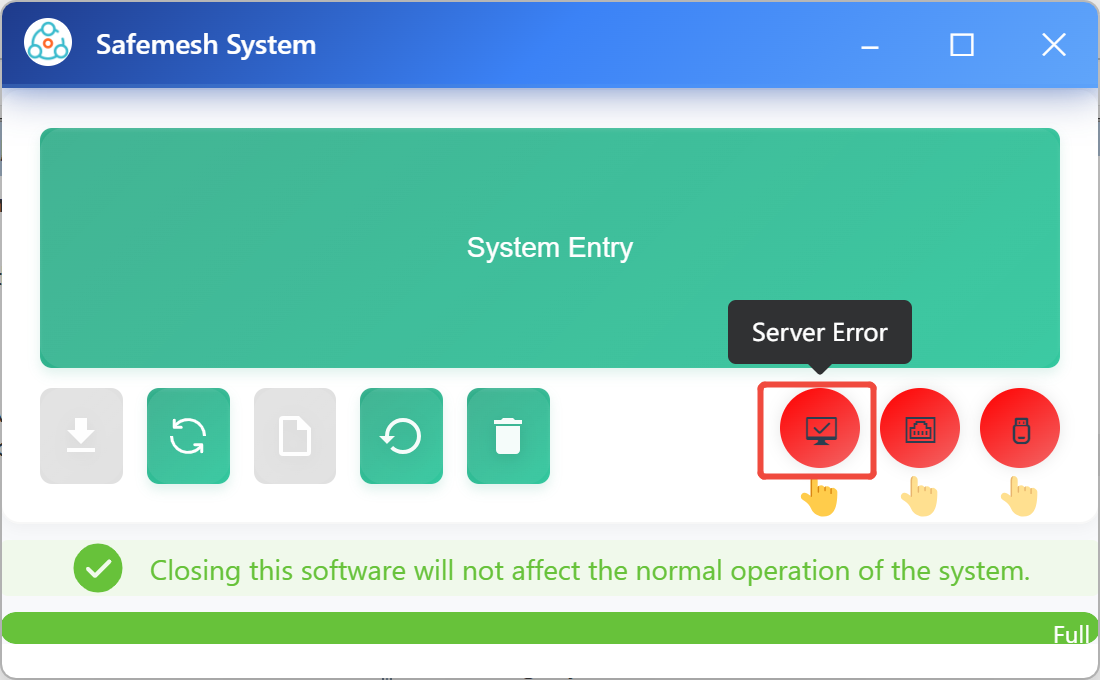](http://13.222.61.26:6875/uploads/images/gallery/2026-01/w6timage.png)
[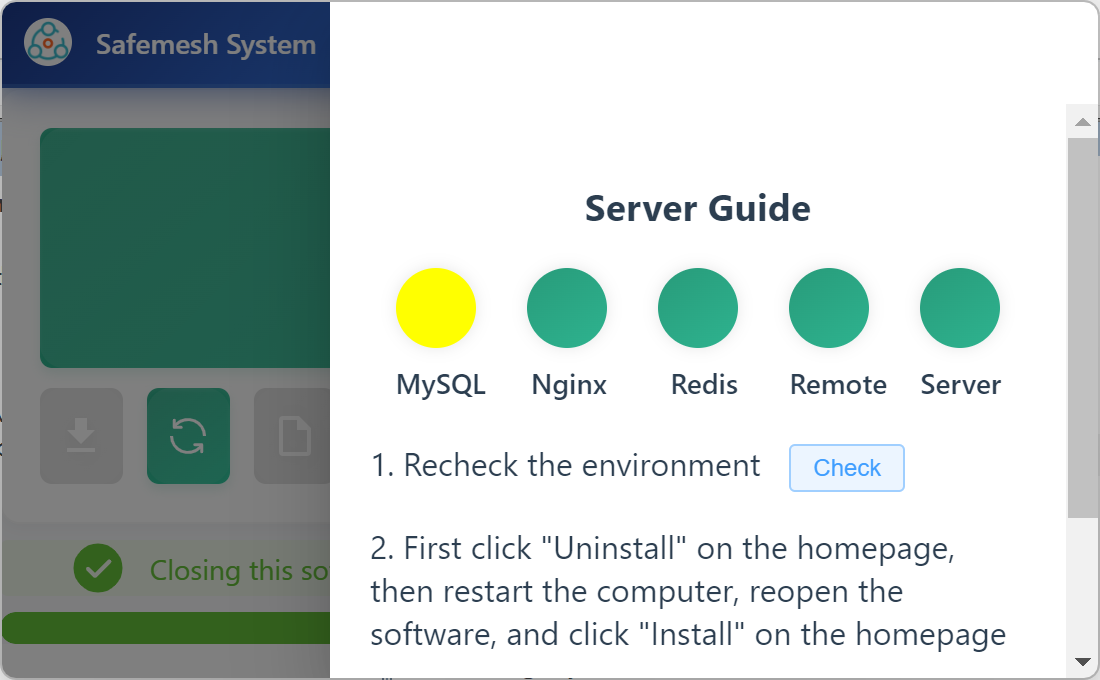](http://13.222.61.26:6875/uploads/images/gallery/2026-01/K8oimage.png)
###### **IX.6\. Backup and
Reset**reset
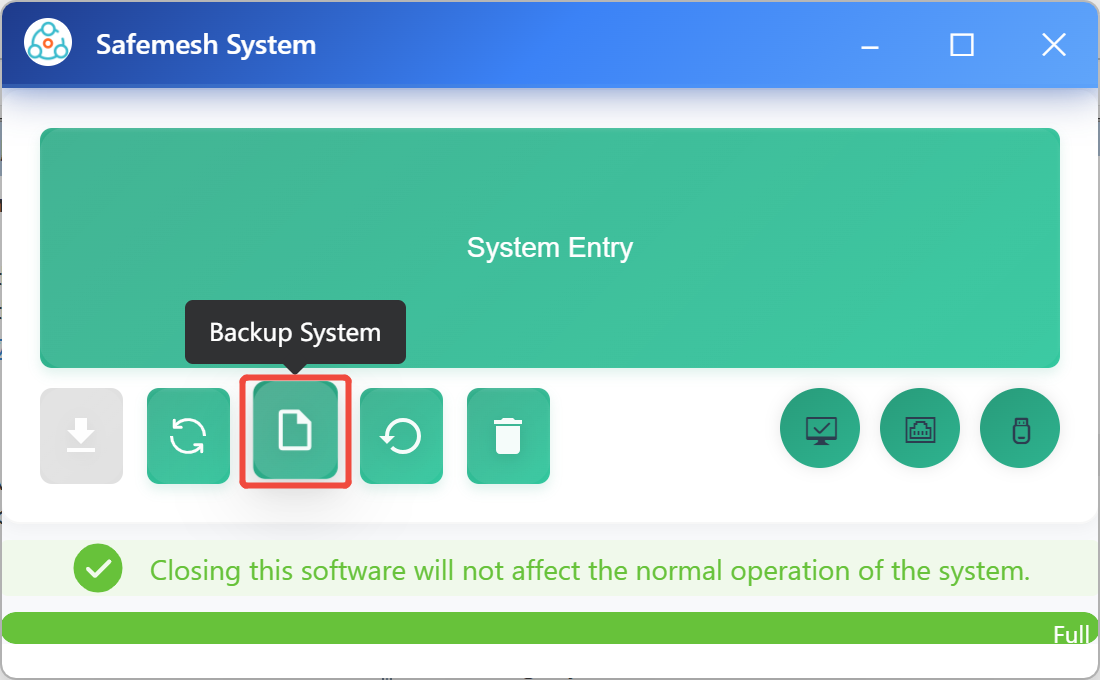
######## **9.6.1 Data
backup**backup
▶️ **Step 1**: Click on Backup System
[](http://13.222.61.26:6875/uploads/images/gallery/2026-01/QAOimage.png)
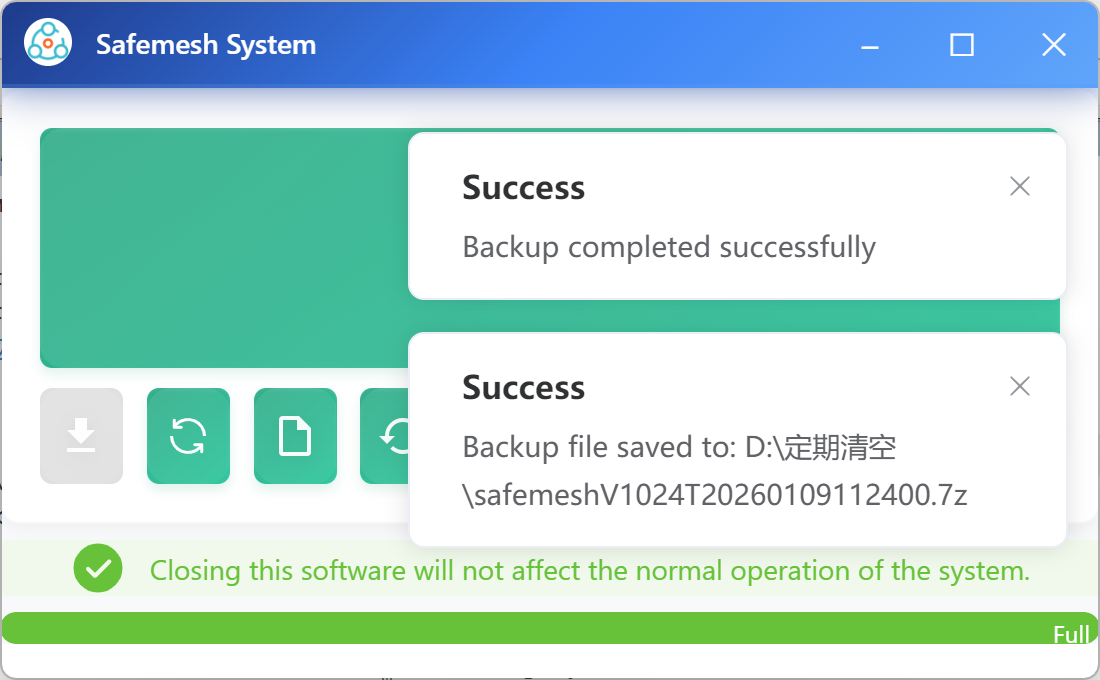
▶️ **Step 2**: Select the save path and wait for the save to succeed

[](http://13.222.61.26:6875/uploads/images/gallery/2026-01/o8Wimage.png)
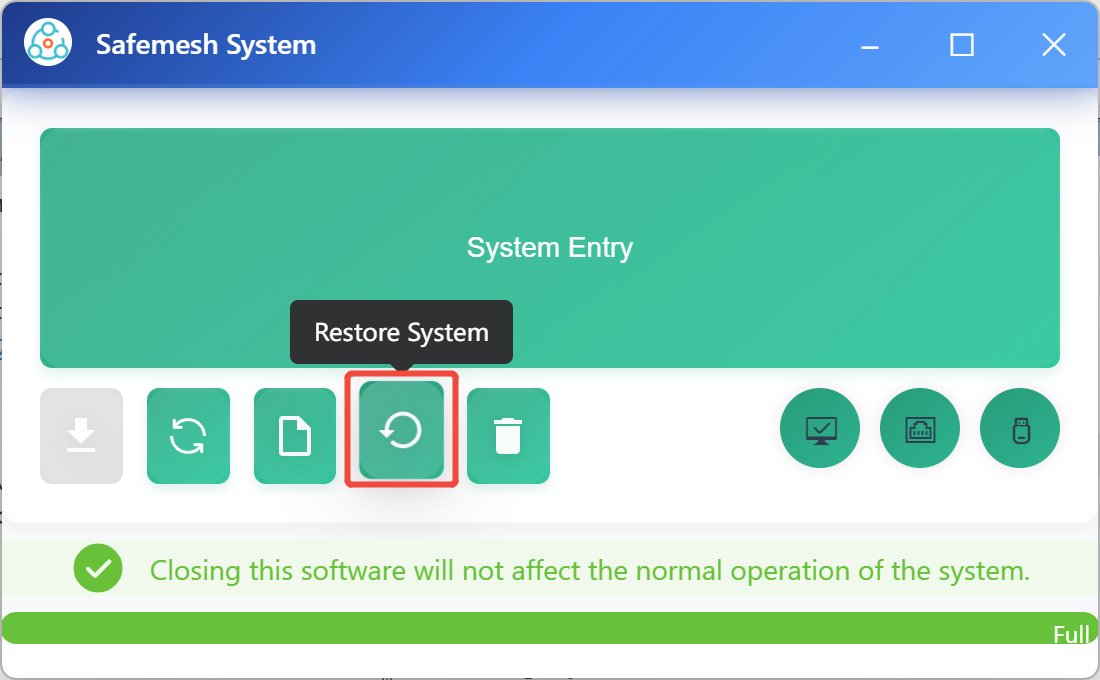
######## **9.6.2 Resetting the
System**System
▶️ **Step 1**: Click Restore System
[](http://13.222.61.26:6875/uploads/images/gallery/2026-01/7Juimage.png)
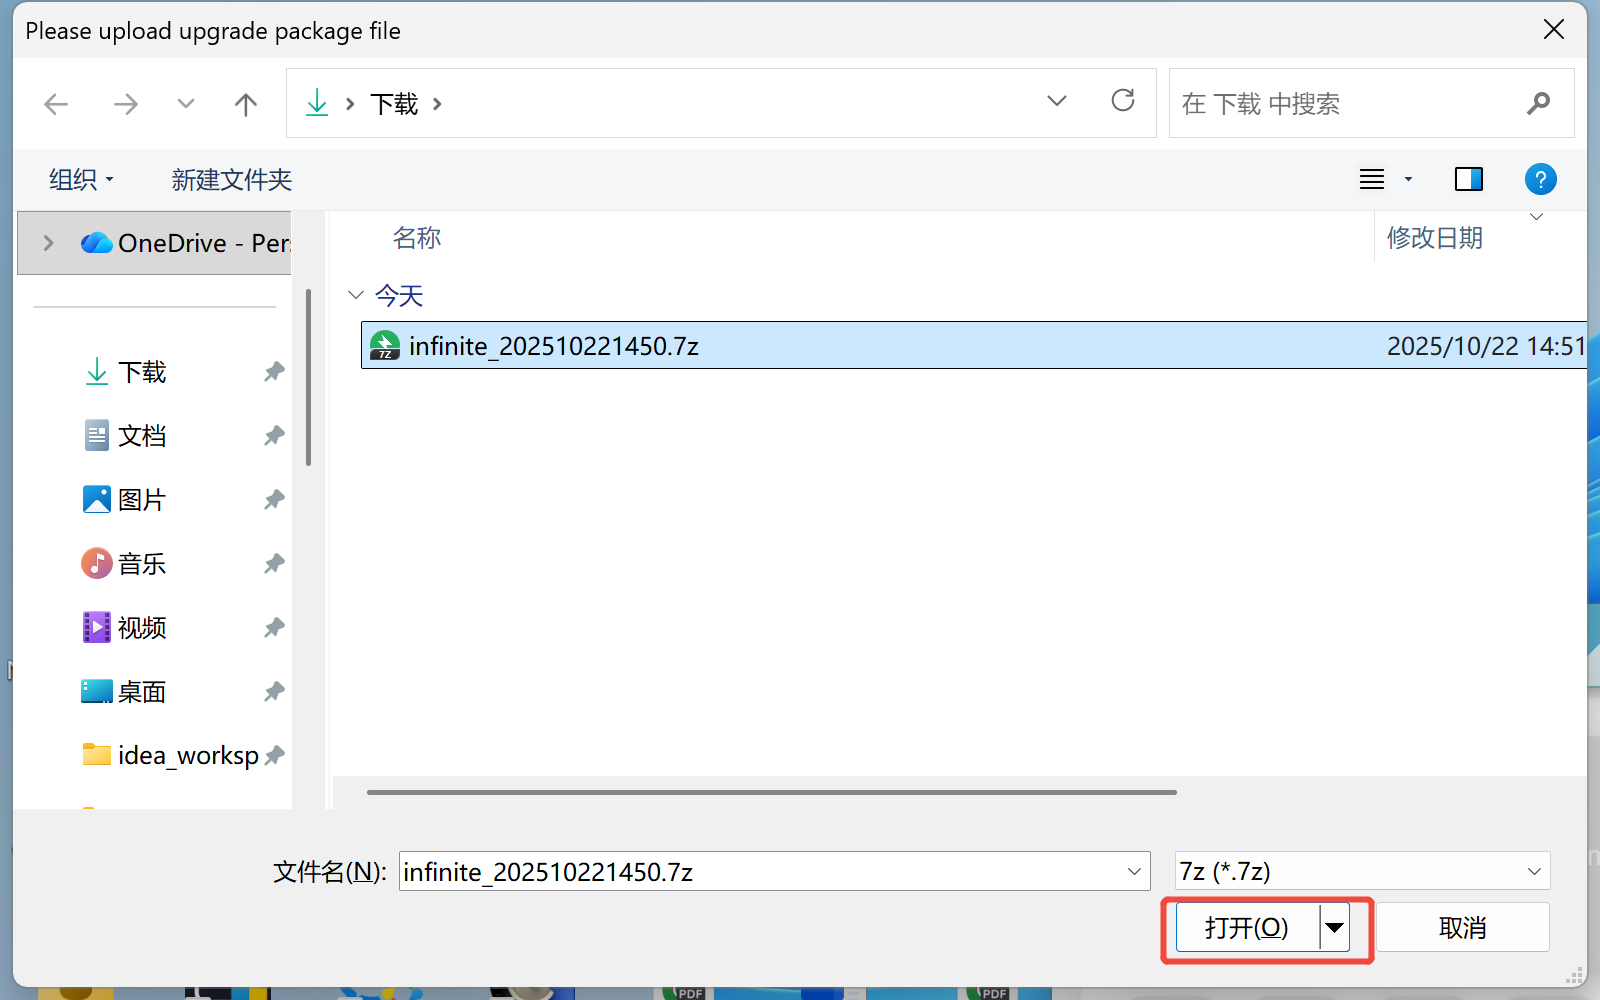
▶️ **Step 2**: Select the version you wish to reset and click Open.
▶️ **Step 3**: Wait for the reset to complete
[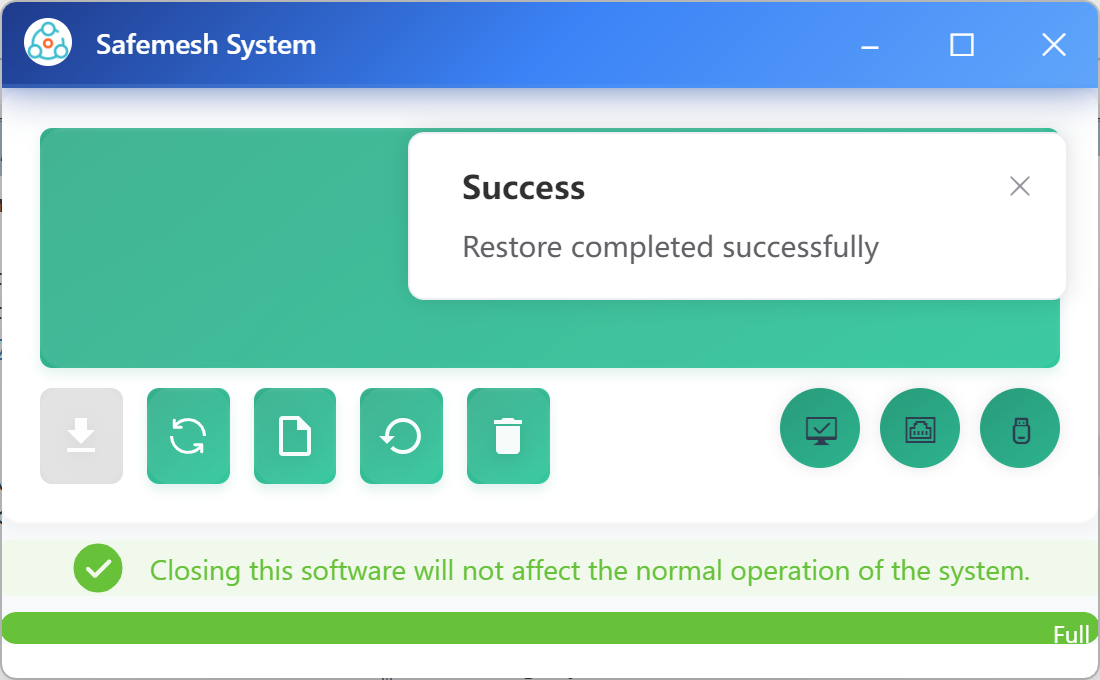](http://13.222.61.26:6875/uploads/images/gallery/2026-01/oXjimage.png)
######## **9.6.3 Uninstall
Procedure**Procedure
(Installation### Boot Software Schematic Flow Chart)
###### **9.6.3.1 Uninstall the
Service**Service
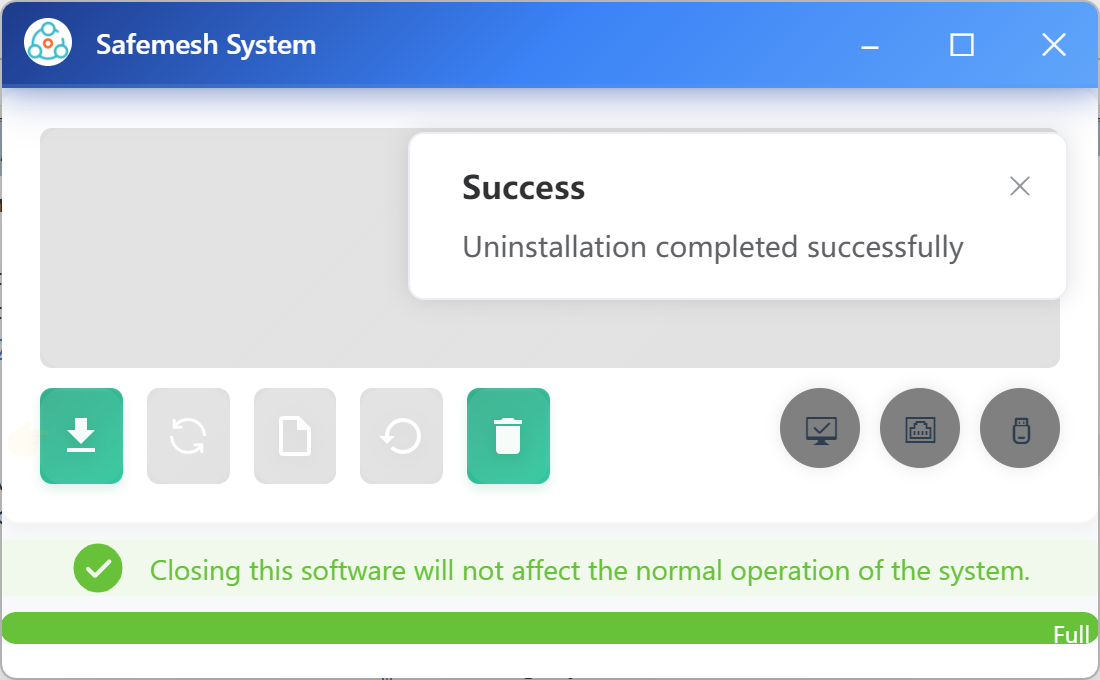
▶️ **Step 1**: Click Uninstall System, click yes
[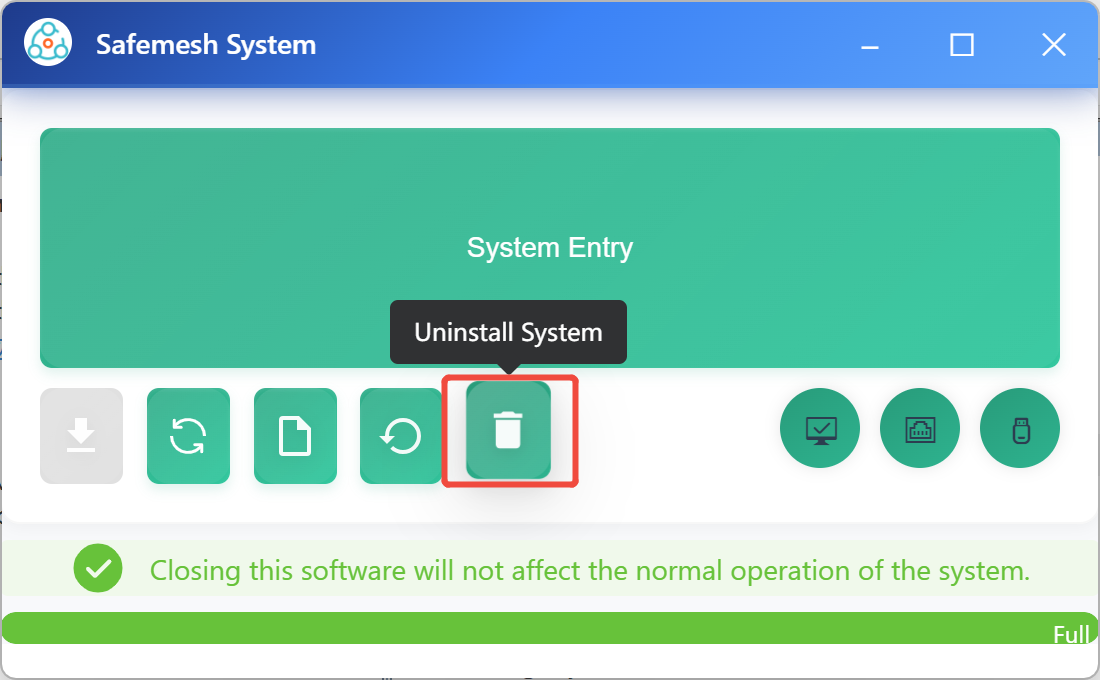](http://13.222.61.26:6875/uploads/images/gallery/2026-01/0Bfimage.png)
[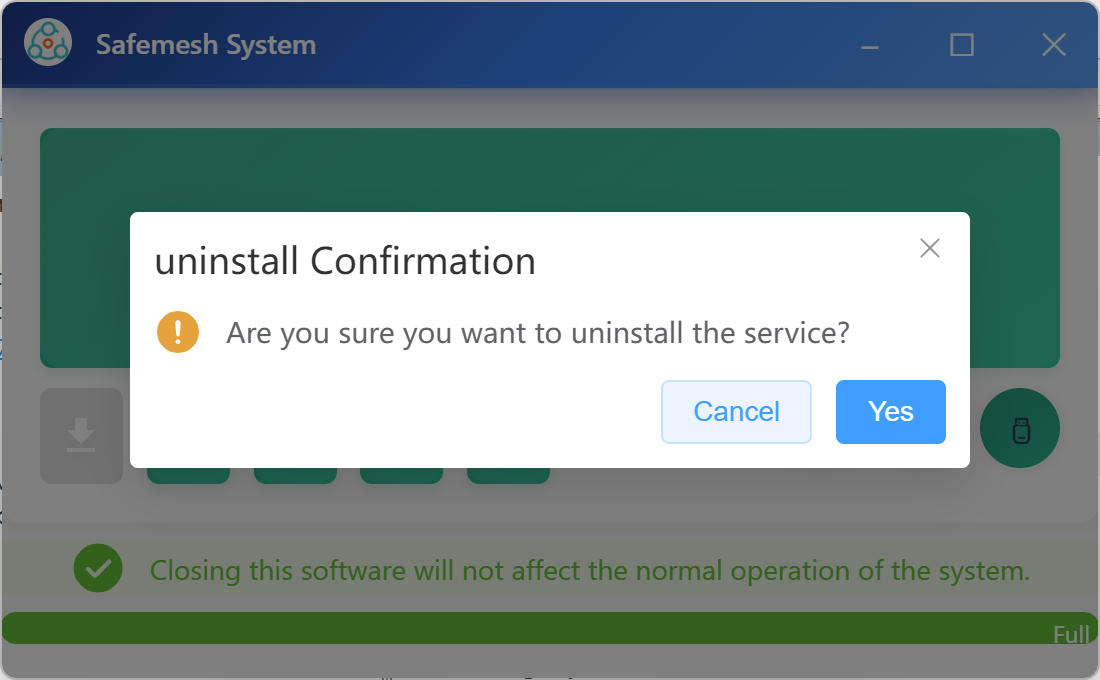](http://13.222.61.26:6875/uploads/images/gallery/2026-01/v12image.png)
▶️ **Step 2**: The uninstall environment window pops up, click cancel, only the service will be uninstalled, click Install System to install it again.
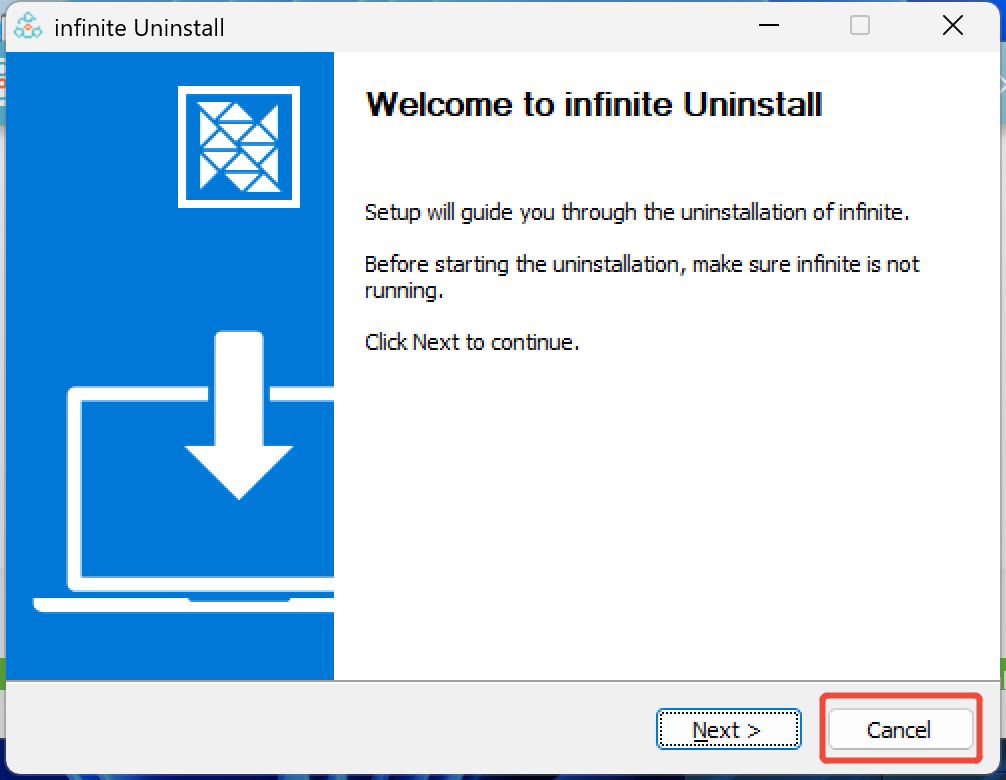
[](http://13.222.61.26:6875/uploads/images/gallery/2026-01/rSOimage.png)
⚠️ Note: The current progress is only to uninstall the service, click Install System to install it again.
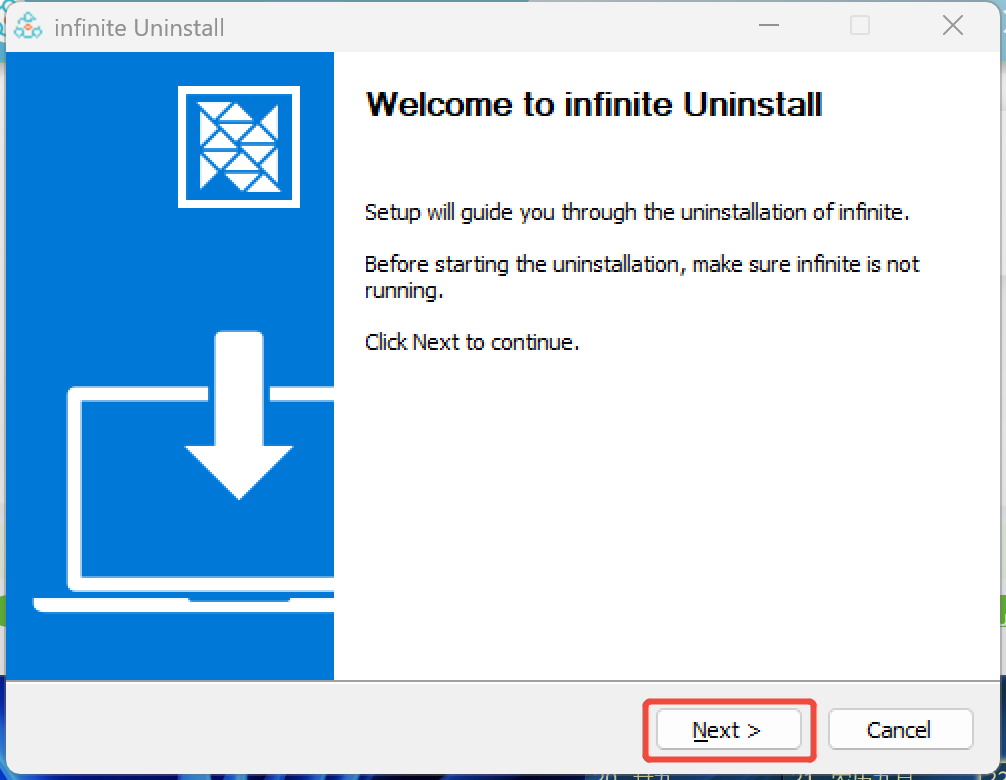
######### 9.6.3.2
UninstallingUninstall the
Environmentenvironment
▶️ **Step 1**: Click Next in the pop-up uninstall window and wait for the uninstallation to complete.
▶️ **Step 2**: Click Finish to complete the uninstallation
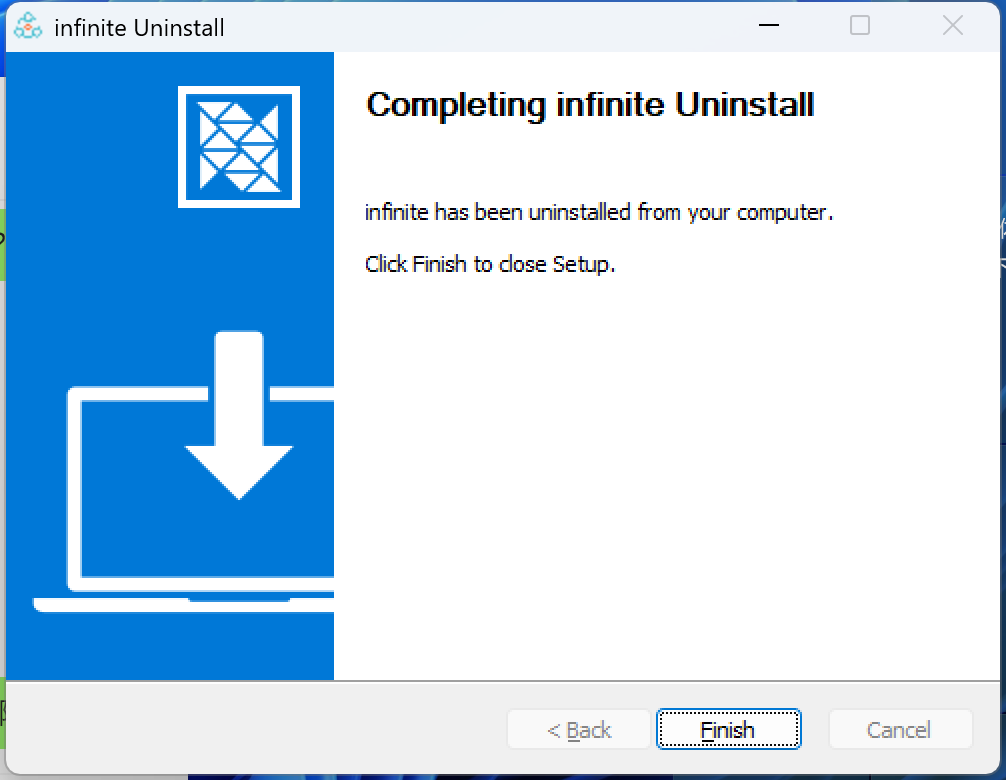
⚠️ Note: The current progress has been completely uninstalled, double-click the installation wizard infinite-win-1.0.16-x64.exe to install it again
##### X. Technical Support & Resources (Safelink has no content, for follow-up)
###### **10.1 Getting Help:**
* Technical Support Portal URL
* Supported email addresses
* Support phone/hotline number
* Working hours
* Online community/forum links
###### **10.2 Quick Links:**
* Provide the online document library URL if the document is online.
* List direct **download links** or find locations for all core documentation (e.g. product documentation download pages). **(Be sure to include links to all the documentation names mentioned earlier here!) )**
